How to Create a Maritime Route
Create your first route in minutes and prepare your next crossing.
This tutorial guides you step by step through creating a maritime route with Macoui. You'll learn how to add waypoints, view total distance and launch a weather routing simulation.
Step 1: Access the Routes Panel
From the main app screen, tap the navigation icon or access the "My Routes" menu. You'll see a list of your existing routes (empty if it's your first time).
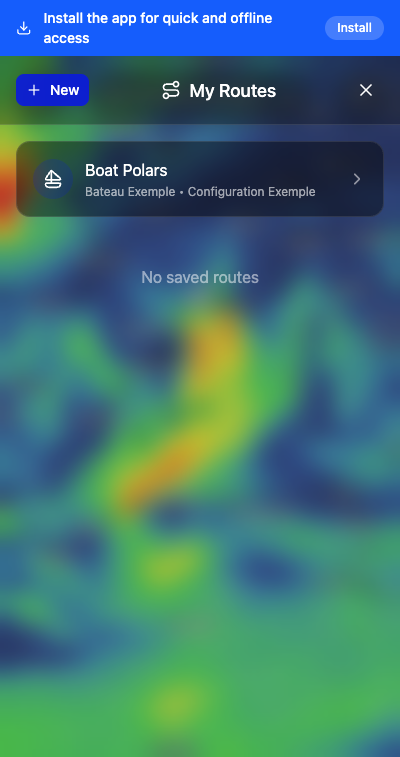
Step 2: Create a New Route
Tap the "New" button at the top left of the panel. The app enters creation mode and displays instructions: "Long press (500ms) to add a waypoint".
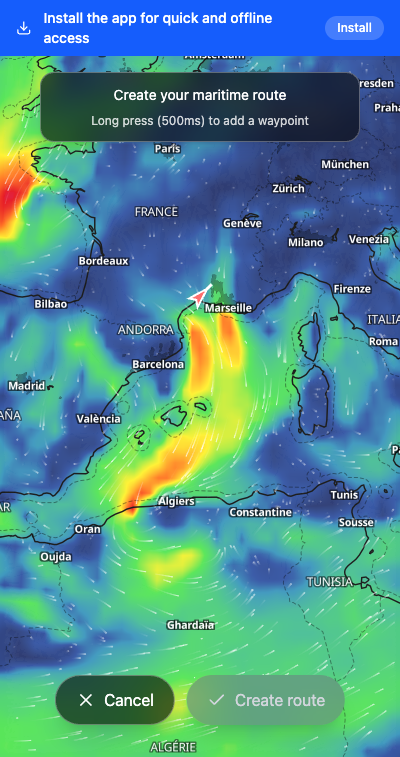
Step 3: Add Waypoints
Long press (about 500ms) on the map where you want to place a point. A marker appears. Repeat to add more waypoints. The route is automatically drawn between points.
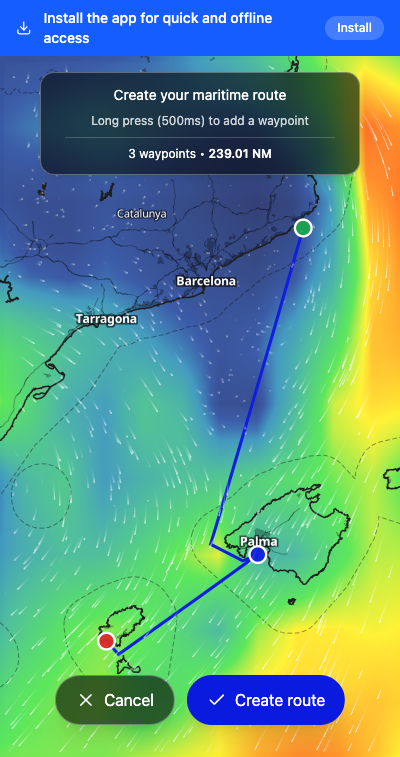
Step 4: Validate the Route
Once your waypoints are placed, tap "Create route". Your route is saved and appears in the "My Routes" list with a map preview, total distance and number of points.
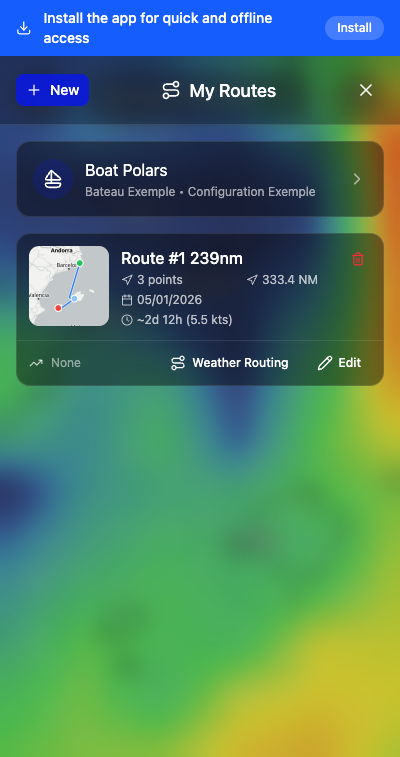
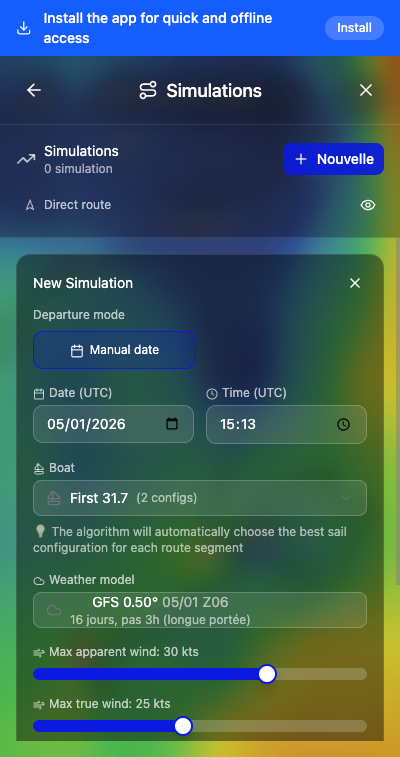
Step 5: Launch a Weather Simulation (Optional)
From your route, tap "Routing" then "+ New" to create a simulation. Configure departure date, boat and wind parameters. Tap "Launch routing" to calculate the optimal route based on weather.
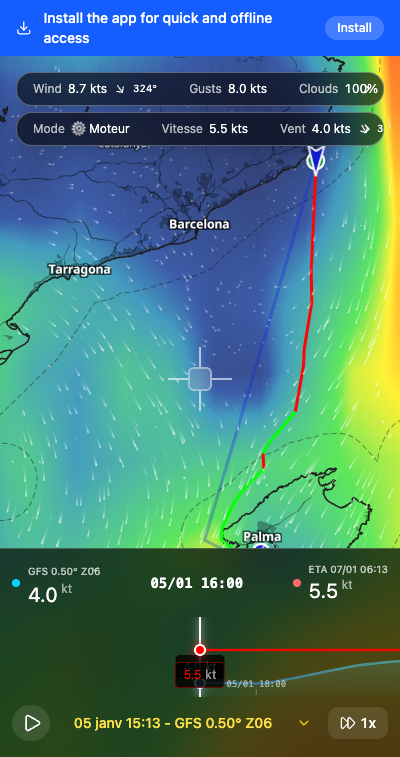
The result shows the optimized route (in green) compared to the direct route (in red), with isochrones and estimated arrival time.
You're Ready!
You now know how to create a route and launch a weather simulation. Explore Macoui's other features to prepare your crossings with confidence.
Open Macoui