This tutorial guides you through configuring your GRIB cache zone. By limiting the geographic download area, you reduce download time, storage space used and resource consumption.
Step 1: Access Cache Settings
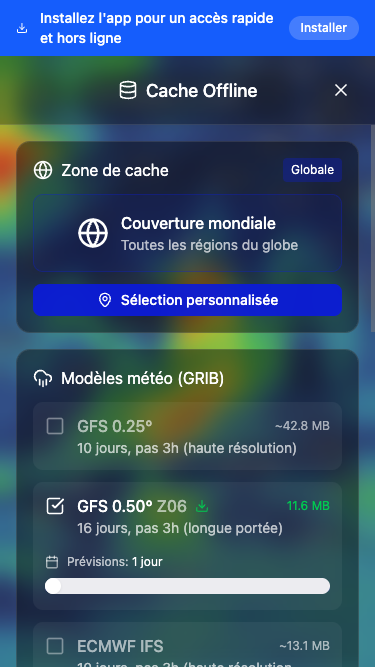
From the main screen, open the menu and select "Offline Cache". You'll access the weather data download settings.

Step 2: Understand the Cache Zone
By default, the zone is set to "Global" (worldwide coverage). This means weather data covers the entire world, which can take longer to download and use more space.
Step 3: Define a Custom Zone
Tap "Custom Selection" to define your own zone. The app switches to the map with a selection rectangle.
Step 4: Adjust the Zone on the Map
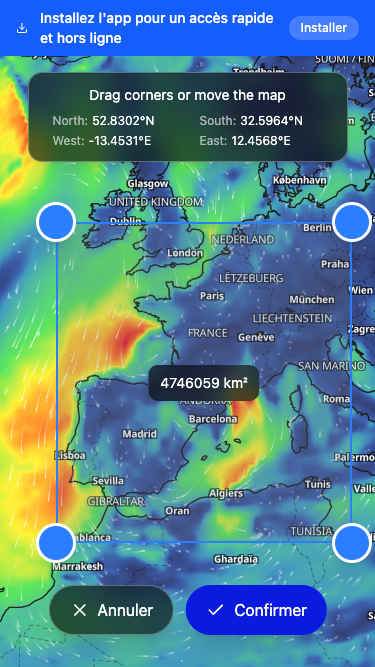
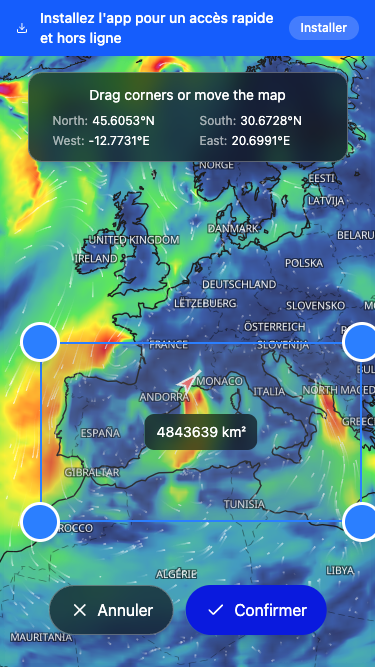
Drag the corners of the rectangle to adjust the zone. The coordinates (North, South, East, West) and area are displayed in real-time. You can also move the map to reposition the zone.
Step 5: Confirm the Zone
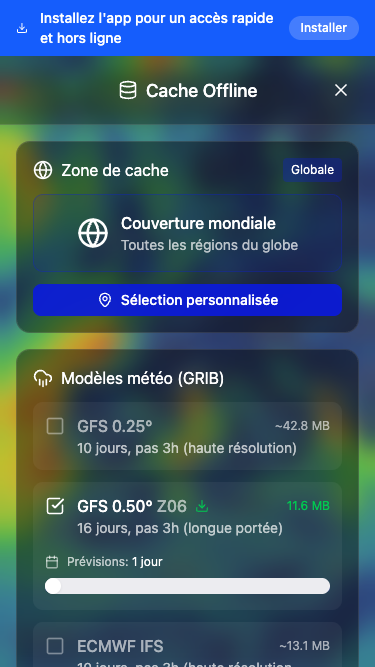
Once satisfied with your selection, tap "Confirm". The zone is saved and coordinates are displayed in the cache settings.

Step 6: Alternative - Global Zone
If you plan to sail in various areas or make long crossings, you can return to the global zone by tapping the "Global" button.
Step 7: Select Weather Models
Choose weather models to download (GFS 0.25°, GFS 0.50°, ECMWF) and adjust the number of forecast days with the slider. The estimated size is displayed for each model.
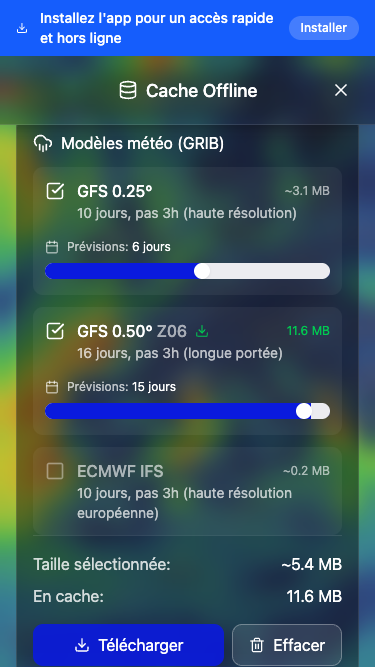
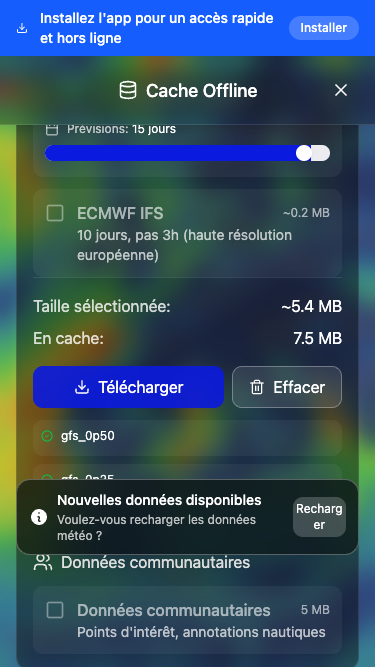
Step 8: Download the Data
Tap "Download" to start the download. A progress bar shows the advancement. Once complete, models display a badge indicating they are cached.

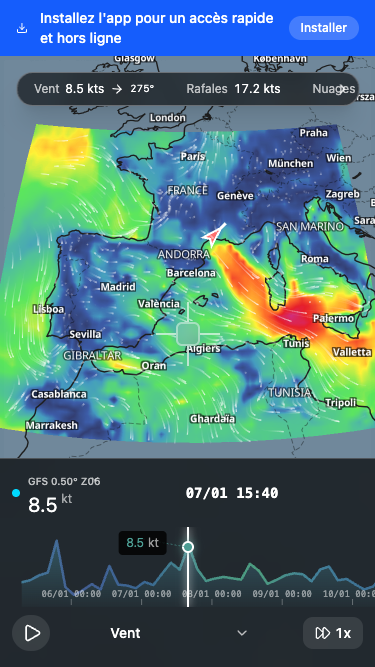
Step 9: View Data on the Map
Close the cache panel and return to the map. Weather data (wind, gusts, etc.) now displays in your cache zone. You can navigate through time with the timeline.
You're Ready!
Your cache zone is configured. Updates will be faster and consume fewer resources. Don't forget to download data before heading out to sea!
Open Macoui